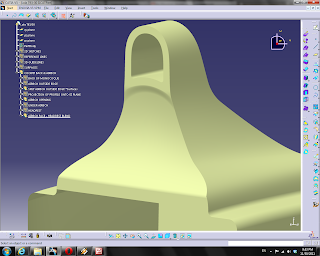
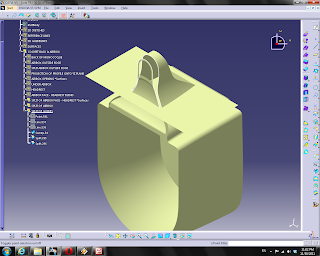
Next up is this transition from the airbox to the head rest
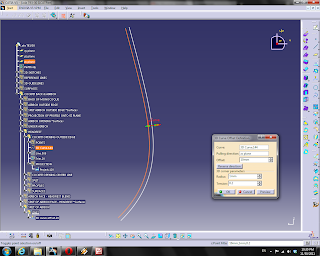
I'm going to essentially offset the bottom of the Front Airbox Opening
Here I've got a curve that matches the tangency and curvature of the offset
Now, I want to start putting together the face of the airbox opening. I'm going to create a flat sweep at the forward most point of the airbox.
Project the underside and airbox opening
Split
Split again using the car body
We're left with this
Now for the cockpit back, it looks like it's a slightly concave in the middle, whereas it looks straight at the bottom.
I'll use three lines as guides, one slightly set back in the center, bulging slightly outword on the sides
Project the outside lines onto the surfaces of the whole car
Chop the top off these guides
Create profiles in anticipation of a multi-sections surface
Create a couple of multi-section surfaces
If you trim the two, the result will be ambiguous, but it will allow you to fillet the edge. So select the surfaces to keep.
Fillet the edge.
Now we need to connect the two
I'll just copy and translate the airbox underside to be lower
Project it onto the surfaces
Split using the projection
Alright, now I'm going to split a bit of the headrest, airbox face, and airbox from the whole car. The goal of this is to blend them together
Here we are, after organizing a little bit
Extract edges and project
Join, smooth, offset
Project
Split
Now create a 3d curve to split the sides with. First offset the COCKPIT OPENING OUTSIDE EDGE curve on the zx plane
Then I'll just make a straight verticle line
Put a point on the offset curve and split it
Connect with a 3d curve imposing tangency and curvature. Join and smooth all.
Project onto the surfaces
Split
Split the projections
Blend
Quick mock up


No comments:
Post a Comment