Dimensions can be found here:
Koni 2812

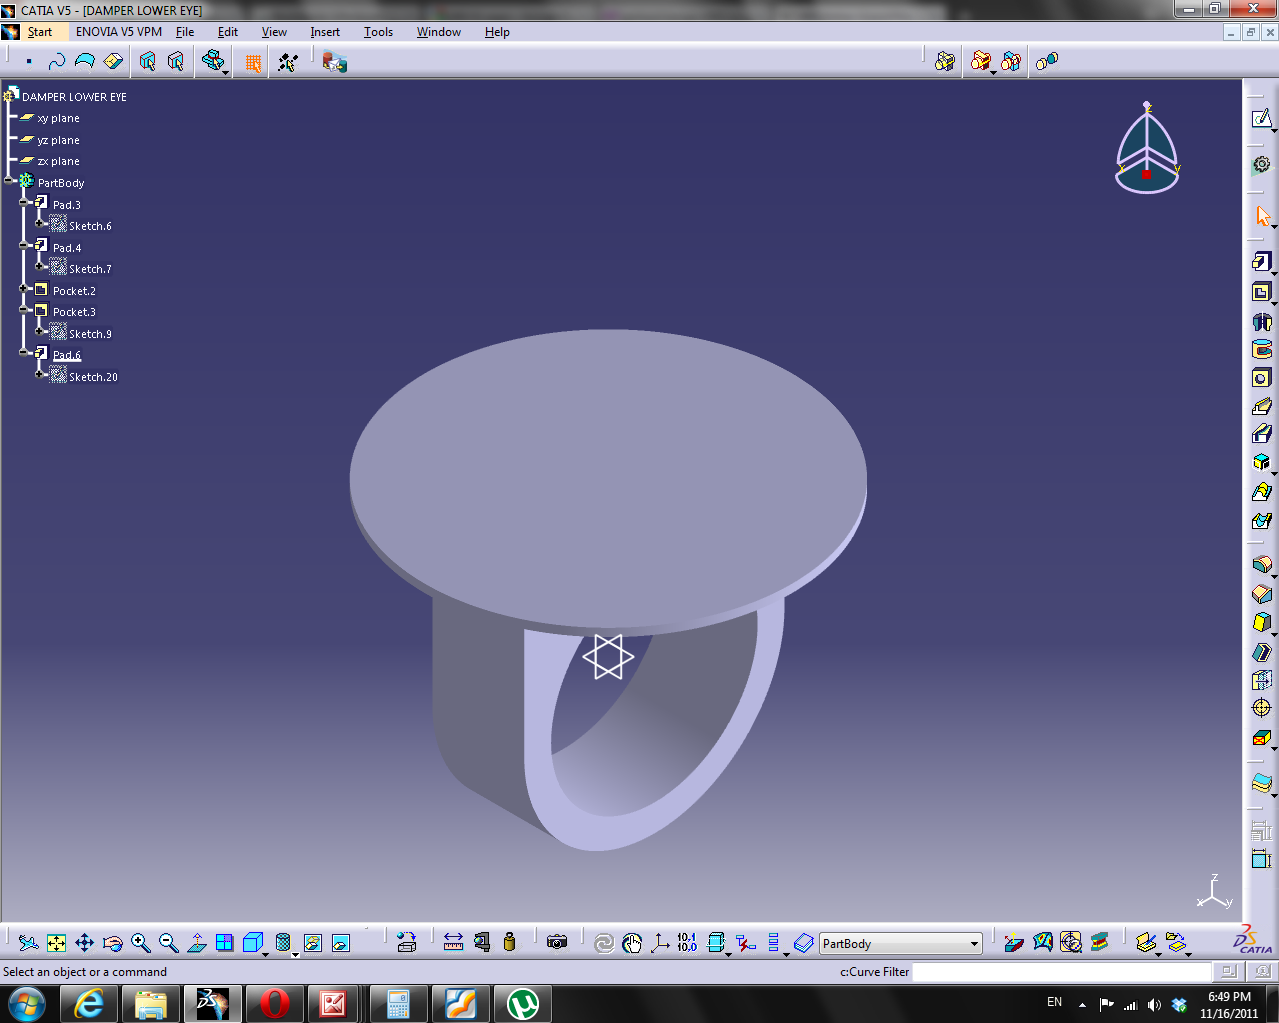
Drawing says that the eye has a radius of 16mm

Pad it

Top of the eye is 18mm away from the center

Pad

Eye is 11.3mm thick

Pocket it

Pocket for the spherical plain bearing

Put a big circle on the bottom of this part

Pad it
Fillet it

Create a profile to pocket it

Groove the part 180 degrees

Pocket it

Switch to the generative shape design workbench and make the sketch symmetrical

Use this symmetry to pocket the other side

Damper body
We know the distance from the center of the eye to the bottom of the thread, but the drawing does not indicate the distance from the bottom of the eye to the tubular bottom of the damper body. It's going to be a 1:20 scale model. I'll guess. Damper body outer diameter is 45 mm. That we know.

Shaft

Fillets and Chamfers

Damper body has a outer diameter of 45mm, I don't know the length. This damper comes in many different lengths. I'm going to go with this reference photo and make it 175mm from the bottom of the eye to the top of the damper body.

First pad at 200mm, I'll trim it down later

Fillet

Thread. I'm going to make a visible thread. This is contrary to typical usage in CATIA. Imagine the computer resources to create a visual of a model with hundreds of screws if each of them had a visible thread. Normally if a thread was required, I'd just use the thread/tap button in the part design workbench. This is a unique part where the thread is a recongnizable feature.
Which thread? Metric, many of the measurements of this shock are metric. Plus it's made in Holland. It's definately going to be fine pitch, if not super fine or extra fine.
These are some useful resources:
Fine metric threads
Wikipedia
Drawing says Tr48x2, so let's say that is standard M48x2.0
Create a new Body, so we can hide this if it's too graphic intensive for the computer

First thing I need is a starting point

And I'll need a profile

Copy and paste this, I need another profile at the top note the formula, this ensures that as we change the height of the damper body shaft, the thread changes with it.

Now we need a helix
Change to the generative shape design workbench. Create an infinite line through the origin point.

Create a helix with a 2mm pitch

Go back to the part design workbench. We'll create a multi-sections solid using our two profiles with the helix as a SPLINE.

Beautiful. Chop 2mm off the top and the bottom

Lovely, it's threaded

Let's give it that dirty anodized aluminum finish

So consulting my reference photos it looks like BMS Scuderia Italia probably put ever damper in the Koni Racing catalog onto this car at one point or another. All I've got is shots from the factory, so it's going to be really hard to determine which dampers were used at which races. None of them seem to match the technical drawings. I'm designing a model car, so I'm going to be terribly capricious and design one incorporating the most important features I see that I like looking at.

Just a quick assembly, and that's all I'm going to get to today.

No comments:
Post a Comment