I'm going to design a spherical plain bearing for the dampers, keeping in mind that this is for a model car, therefore it doesn't have to be 100% dimensionally accurate and able to withstand the forces of a real F1 car. This is all about making a model.
I want to design a Koni 2812, as this seems to roughly fit with what may have been installed on a Lola T93/30. The design of this damper calls for a 7/16" eye on the top and bottom. That would mean I need a spherical plain bearing with a 7/16" inner diameter.
This would seem to do the trick:
Aurora COM-7
I pretty much have all the design parameters I need to create a visual of this bearing. Going to have to do a ton of metric conversion though, for simplicity sake later on.
Start a new part, hybrid design is fine.

What is the size of the ball?

We know the id is .4375" or 11.1125mm. /2 is roughly 5.556mm

I'll make that symmetrical from top to bottom.
O - Ball Shoulder Diameter [inch] = .530" = 13.462mm. Divide by 2, make infinite line, make symmetrical

W - Ball Width [inch] = .437" = 11.01. Aha. I've got the wrong bearing! The design for the Koni 2812 calls for a ball width of 14.27mm.
What I actually need is a
Aurora AIB-7
O - Ball Shoulder Diameter = .587" = 14.9098mm. Adjust drawing
W - Ball Width = .562" = 14.2748mm . Divide by 2 make infinite line, make symmetrical

So, if we just connect the dots now, make a circle with the center at the origin, coincident with the intersection of the Ball Shoulder Diameter and Ball Width lines.

Make the horizontal line an access

Draw an arc that makes a half circle

Exit the sketcher workbench. Make a shaft out of the sketch.
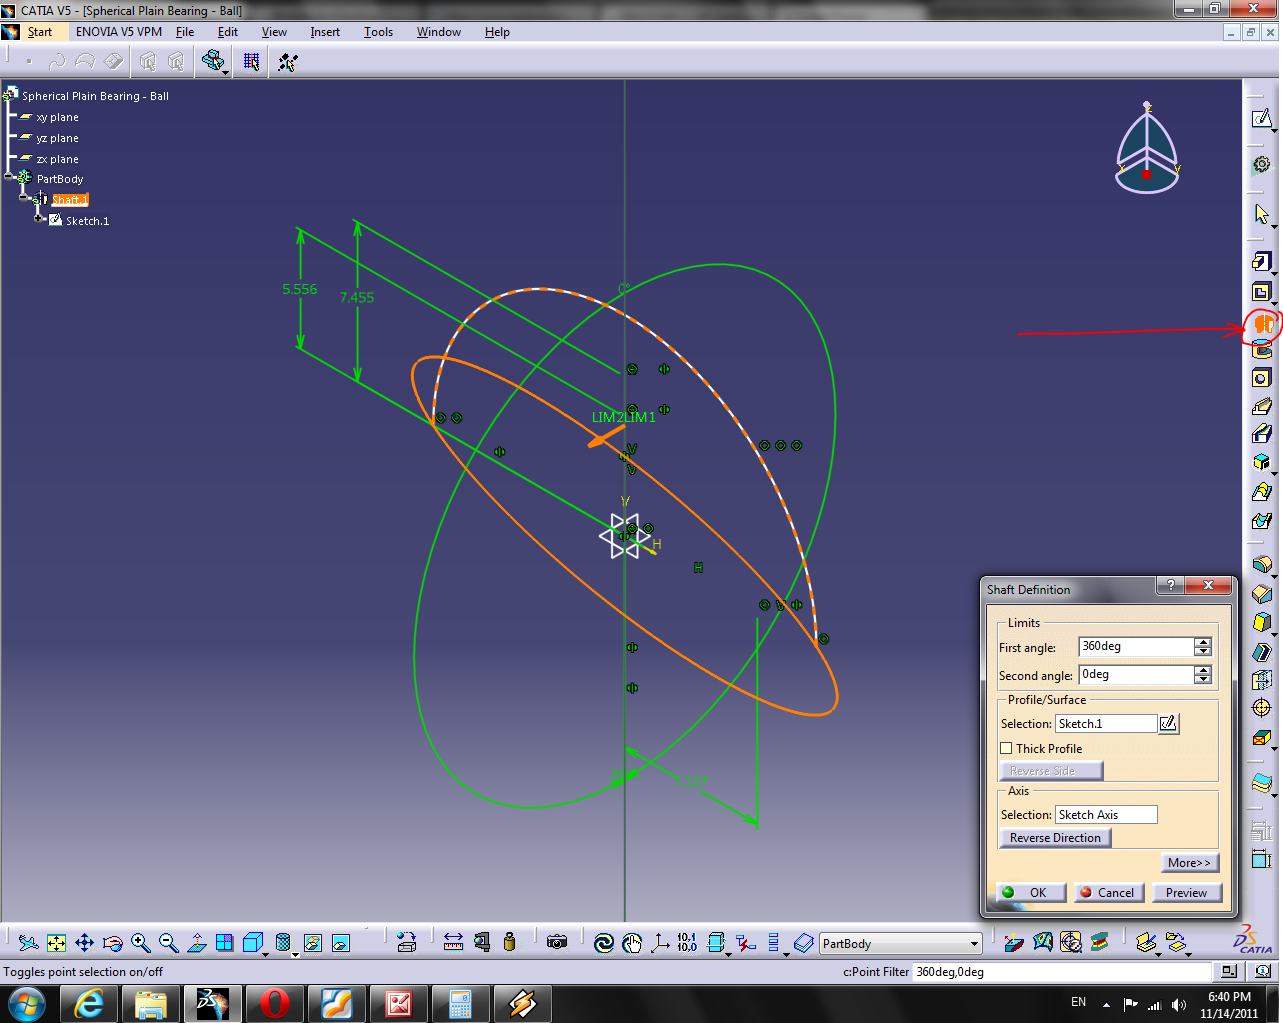
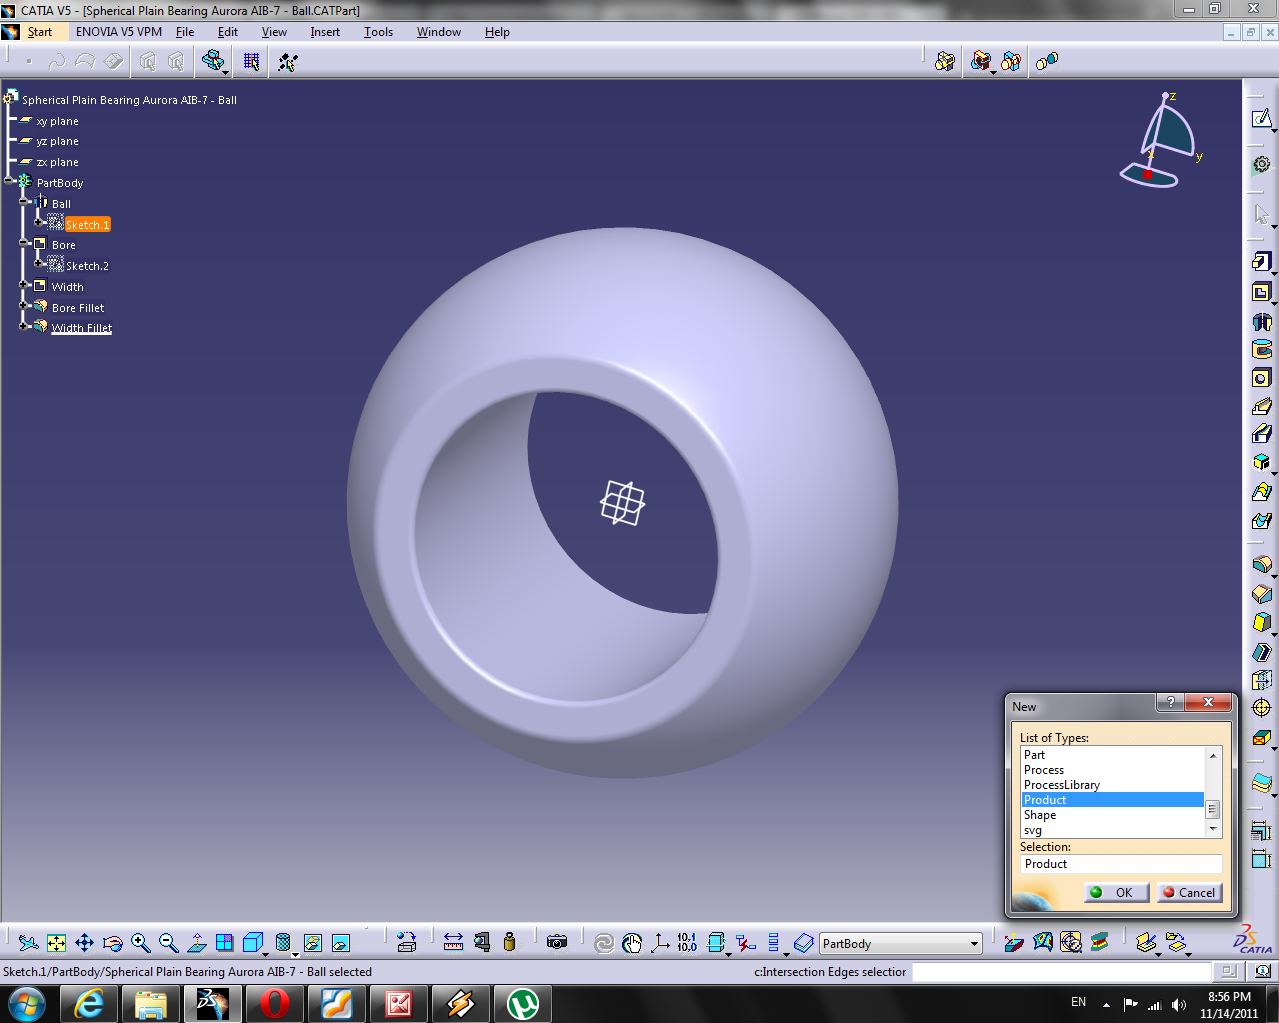
That's a ball.

Time to sketch in the bore
It's a sphere, pick any axis for the sketch
B - Ball Bore = .4375" = 11.875mm

Exit the sketcher bench, make a pocket with mirrored extents which goes all the way through the sphere.

W - Ball Width = .562" = 14.2748mm. /2 and make a line extending above the ball

Make that line symmetrical across both axis

Connect 'em to make a box

Exit Sketcher workbench, make a pocket, reversing the side

Ok, now we're pretty screwed technically, because I don't know how much to fillet the edges.
I'm just going to have to guess
I filleted the bore at .25mm and the ball at .5mm
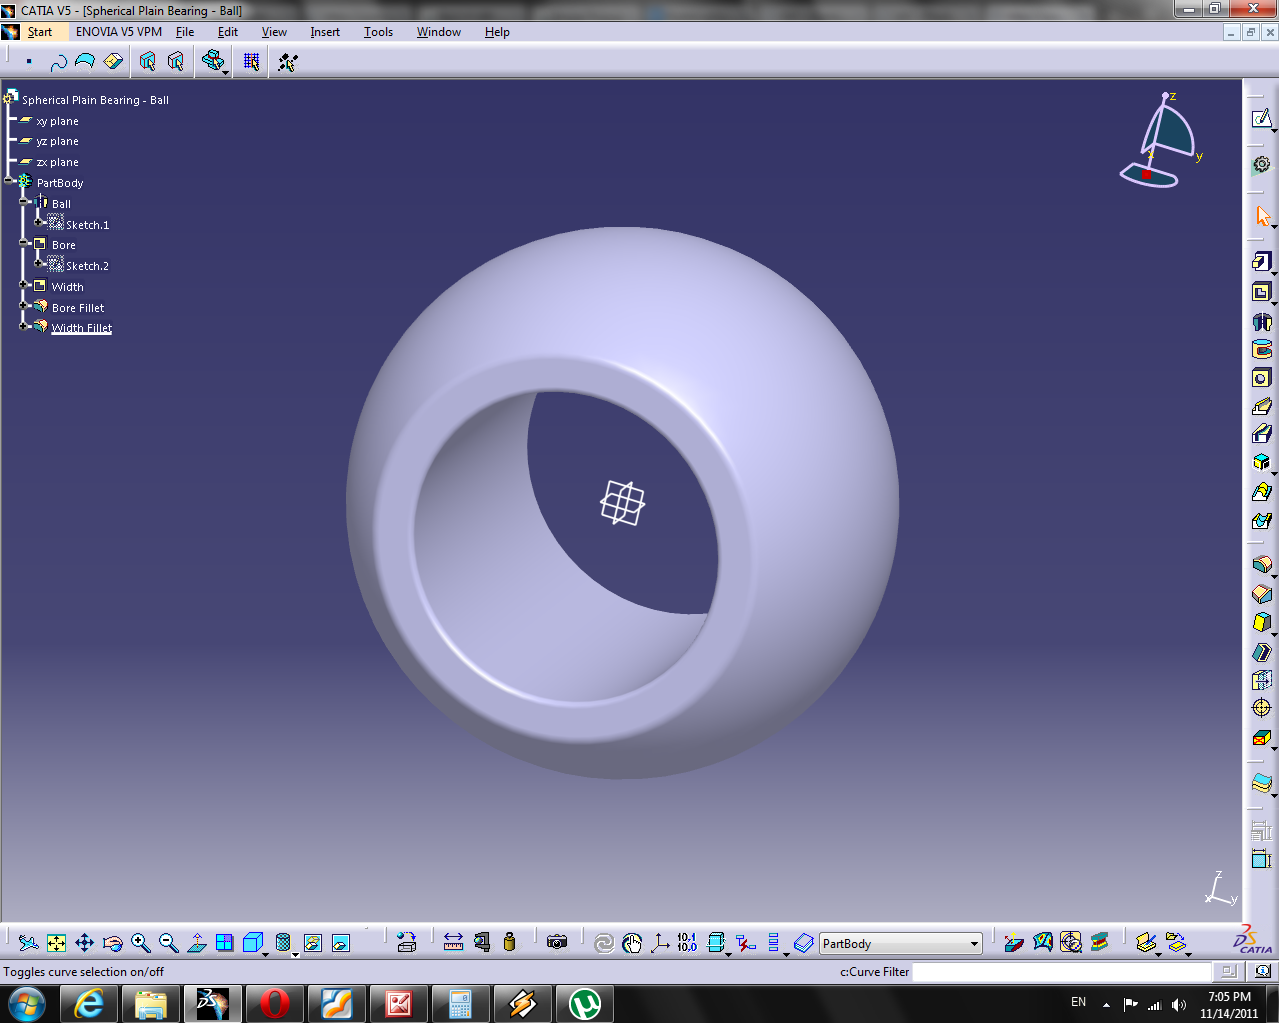
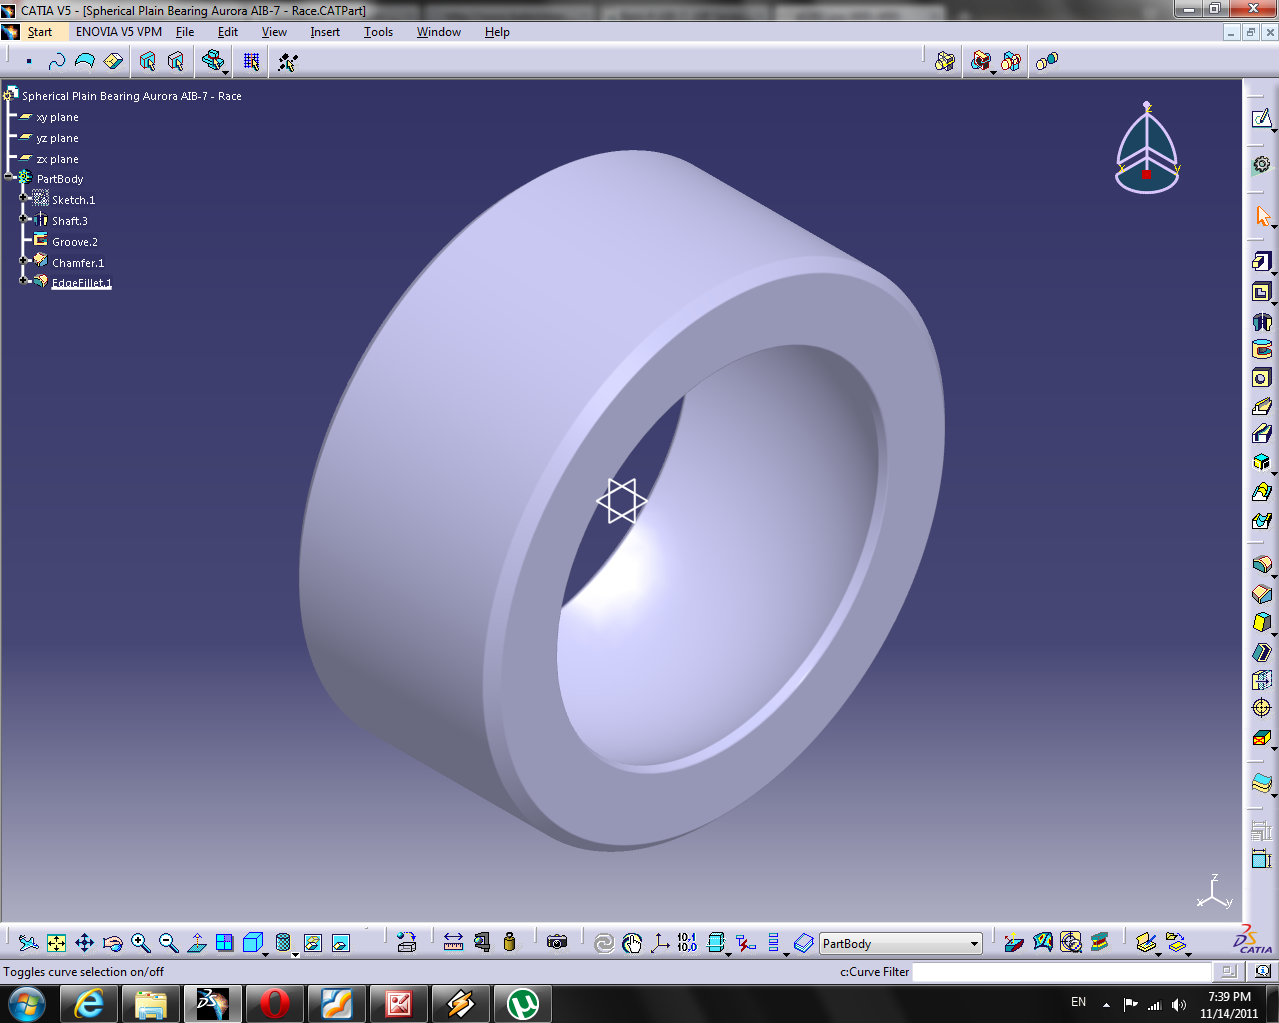
Ok, off to the races
Save what you've got, we need to make a new part
We need another identical arc
This will be a lot easier, because we can just copy the dimensions we used to create the last sphere.

With arc and axis

Now start a new sketch so that this arc is orientated as follows

D - Outside Diameter = 1" = 25.4mm /2 = 12.7mm
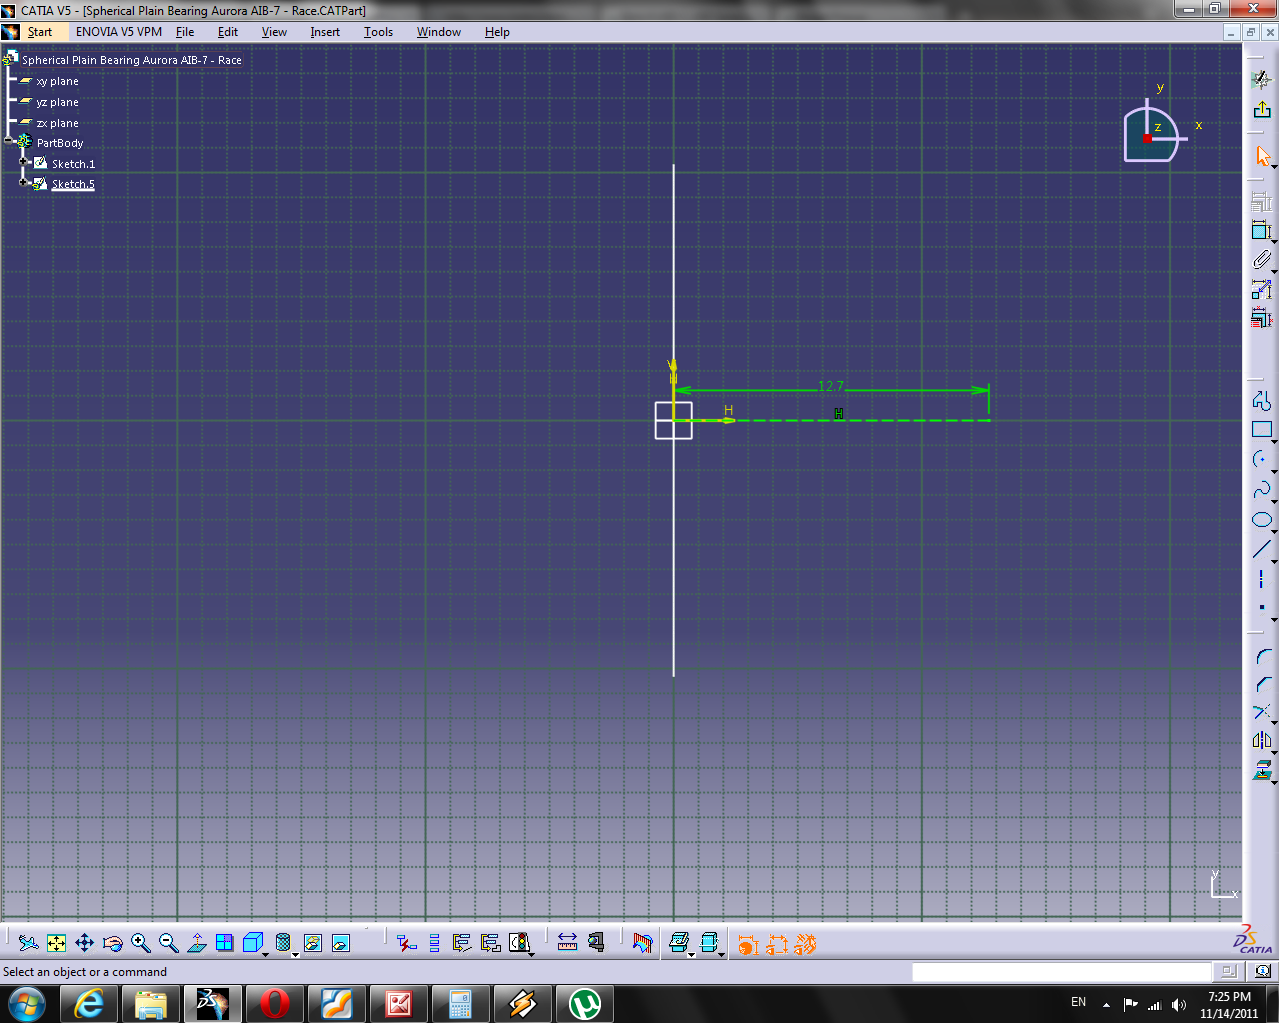
H - Race Width = .437" = 11.1mm /2 = 5.55mm

Make the solid line symmetrical accross the h axis and connect the ends to the v axis
Add a vertical axis as well at the centerpoint

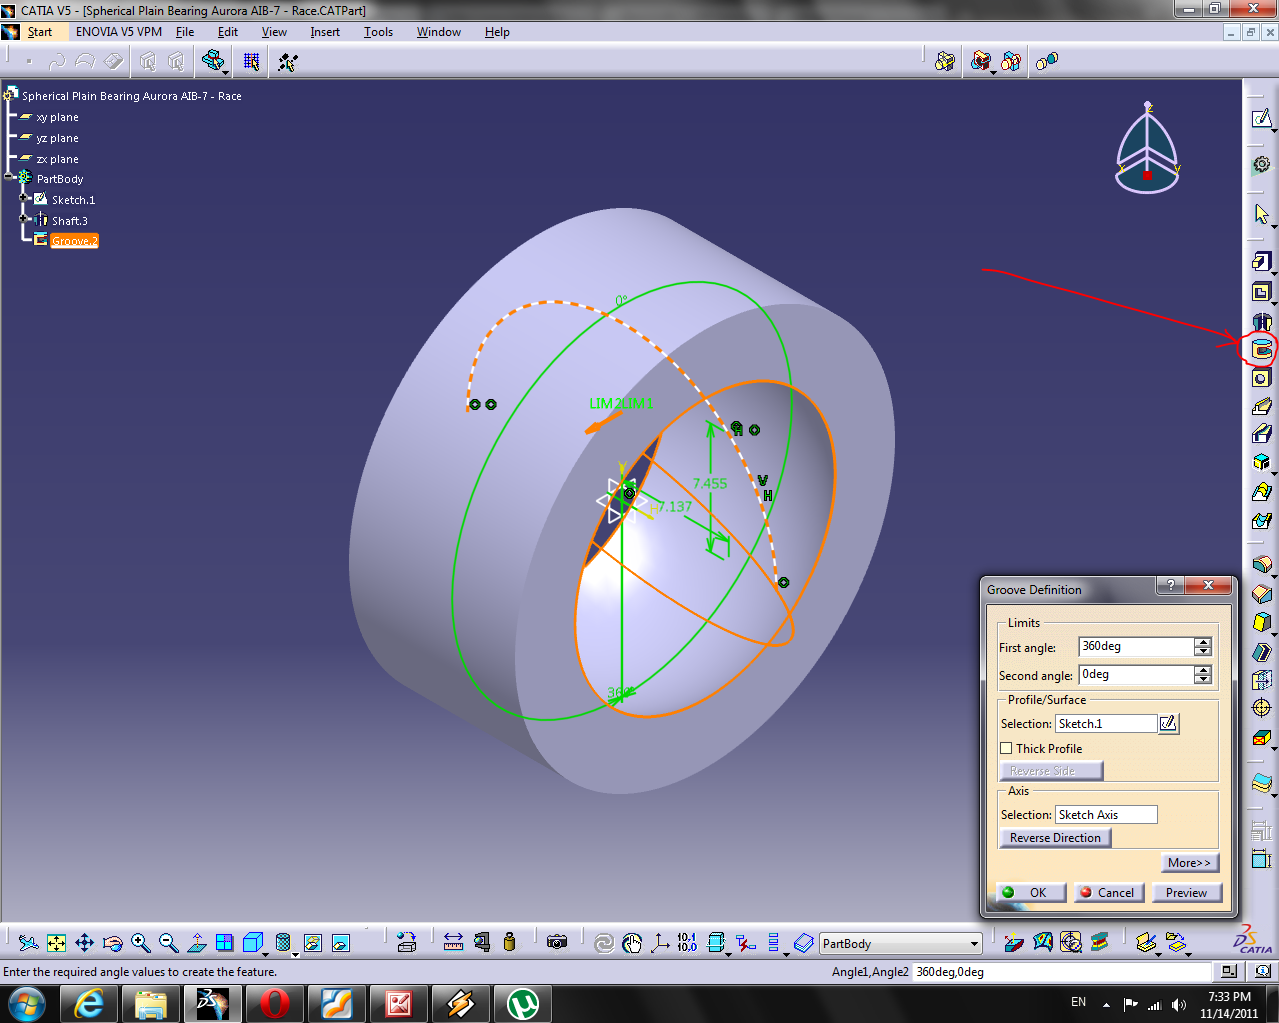
Exit the sketcher workbench, make this into a shaft

Groove the arc
M - Chamfer = 0.020" = .508mm 45 degrees

Just for looks I'm going to fillet those edges as well at .1mm, just to make the renders look nice.
Save this, we're now going to assemble the two parts.
Create a new Product
Insert existing component with positioning

I'm going to fix the position of the race, and add the ball to it.
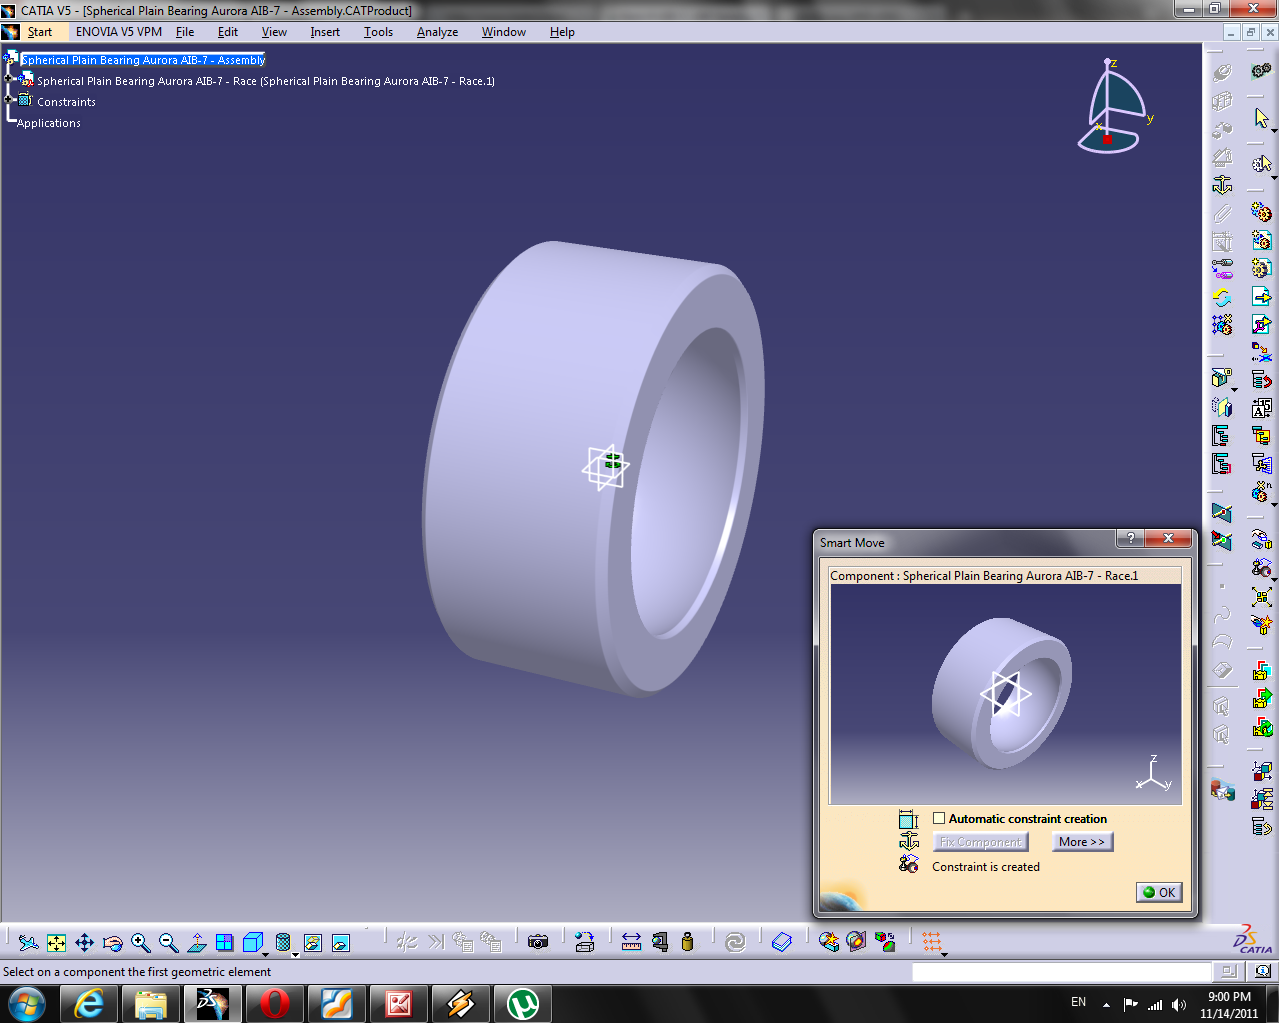
Insert the ball

Create a coincidence constraint by simply clicking on the components so that their axis systems are coincident.

Apply some material so they look nice. I played with the rendering quite a bit to get it to look good. I applied two different metals so the components appear differently

No comments:
Post a Comment